Showing posts with label tutorial. Show all posts

Sunday, 15 November 2015

Liguria müts ehk kahevärviline patent (two colour brioche stitch pattern)

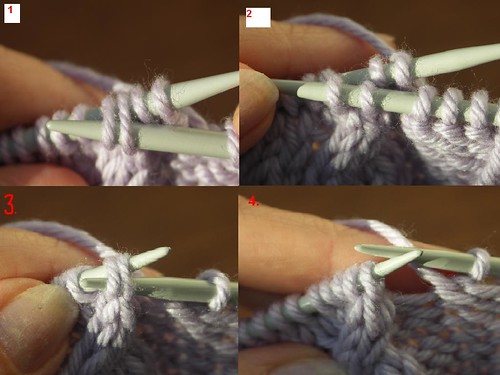
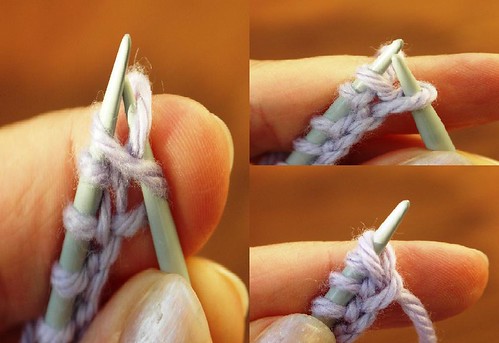
2015 aasta lõpu poole läks äkki üle neti hulluseks kahevärvilise patentkoe kudumine.
Eriti kuulsaks sai Liguria by Katrin Schubert
Ma kudusin siis tehnika õppimiseks tütrele mütsi Lidlist ettesattunud lõngadega.


Youtubes on mitmeid videosid selle tehnika kudumiseks, ei midagi keerulist, nagu algul mustrit vaadates tundub.
Eesti keeles on selle tehnikaga muster olemas Garnstudio lehel: Phoenix by DROPS Design ja ka Ravelrys  Candy Leaves by Raina Kruus .
Mustrimaailma foorumis oli selle ka kooskudumine: Koome koos! Kahevärviline brioche

***
At the end of 2015 was suddenly very hot this two coloured brioche knitting technique.
I made a hat to my daughter.  

Tuesday, 2 June 2015

DROPS Delight ja rataskampsun 2

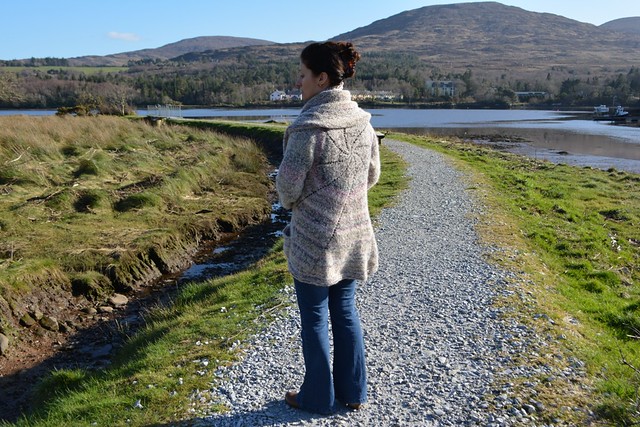
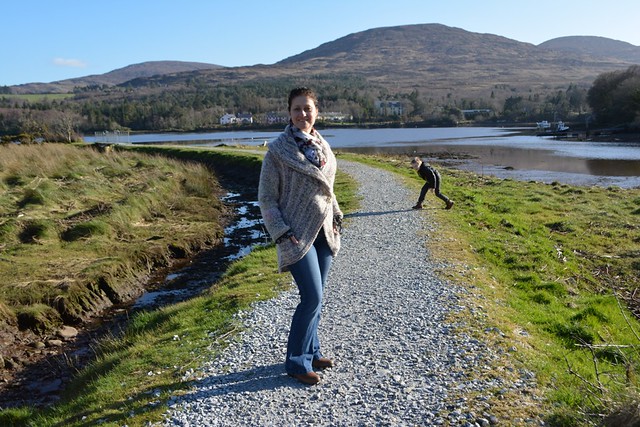
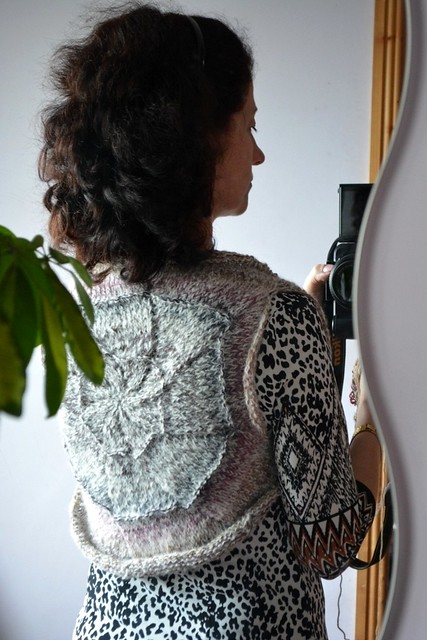
Nagu mäletate mu eelmisest selleteemalisest postitusest, hakkasin kuduma sellist toredat DROPSi rataskampsunit.
See on siis Summer Delight by DROPS Design


Tegelikult sai mul kampsun valmis juba veebruaris ja on mõnusa ja soe kanda.
*
Like ju remember from my previous post, I started to knit this lovely wheel cardigan.
It is Summer Delight by DROPS Design - knitted jacket worked in a circle in ”DROPS Delight” and “Brushed AlpacaSilk” yarns. 
I actually finished it already in February. It is very nice and warm to wear.  
(For statistic: 1770 meters of yarn knitted) 


DROPSyarn knitted jacket (4)
DROPSyarn knitted jacket (3)

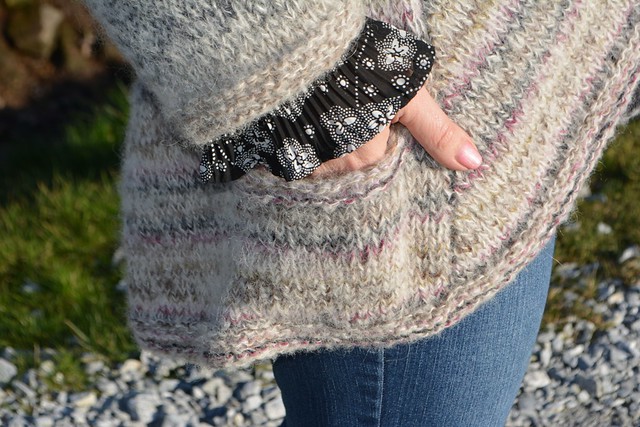
Taskud on ka vajalikud:
*
And I seriously need pockets for my mobile phone:

DROPSyarn knitted jacket (2)

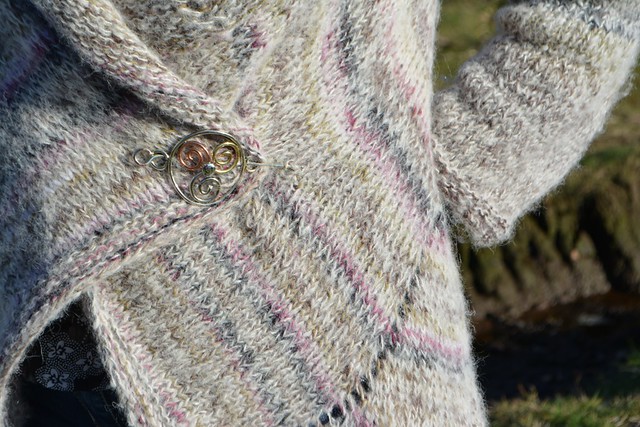
Ja loomulikult ilusale kampsunile ilus kinnis!
*
And of course, there must be a lovely pin for a lovely jacket! 

DROPSyarn knitted jacket (1)

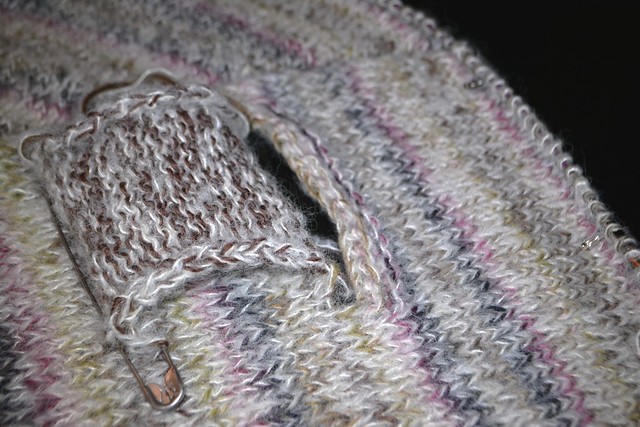
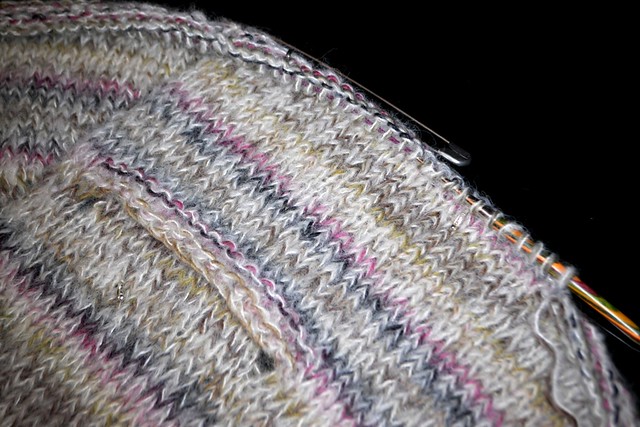
Mõned pildid, kuidas ma taskud tegin:
tõstsin taskutesilmused silmustehoidjale, lõin asemele sama palju silmuseid. Kudusin mõned read ripsi taskuserva tugevduseks.
Pärast (kui olin kampsuni ringiga juba allääreni jõudnud, aga enne ripsääre tegemist) kudusin tasupõhjad sama pikaks, kui kamps ja siis kudusin taskupõhja silmused kampsuni ringiga kokku.
*
Few pics how I made pockets: 

DROPSyarn knitted jacket (10)

DROPSyarn knitted jacket (8)

DROPSyarn knitted jacket (9)

Tegelt oli kogu kampsu tegemisel veel 1 aps.
Nimelt nagu alati, on ju ikka vaja midagi omaloomingulist lisada.
No mõtlesin siis, et lisaks akki paar ringi pahempidiseid ridu vahele, vingem ju.
Vinge jah, sain ämbliknaiseks! :P
*
There was also other thing I had to deal with.
At the beginning I decided to add few purl rounds. When I tried it on, I was a spider woman. 

Not the effect I wanted!


DROPS Delight yarn (3)

Aga laisk nagu ma olen, ei hakka ju kõike läbielatut kootut uuesti harutama.
Niisiis kudusin kampsi rõõmsalt valmis.

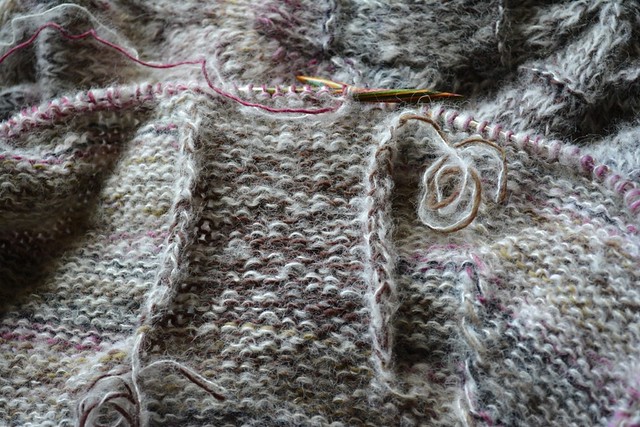
Ja siis hakkasin neid ph ridu vahelt välja harutama-lõikama. Igaüks ikka nii hullu idee peale ju ei tule.
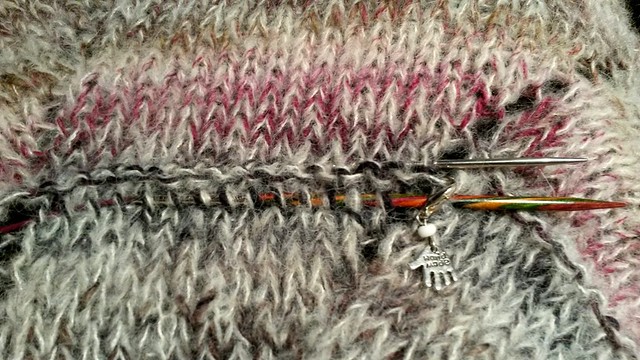
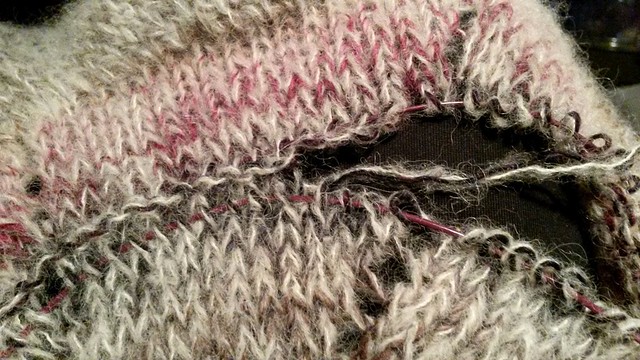
Kõigepealt ajasin vardad kahele poole ph rida sisse ja siis harutasin (jah, silmuse haaval) selle valepidi rea vahelt välja.
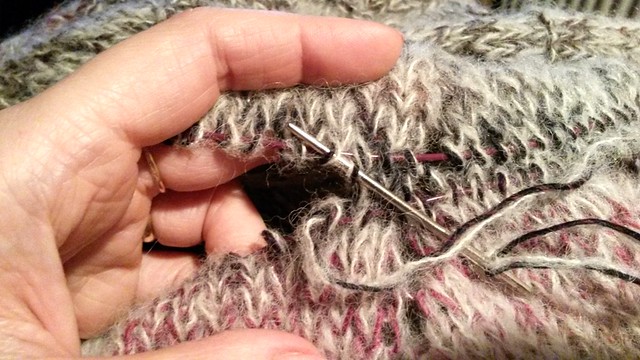
Pärast õmblesin nõelaga sama lõngaga selle rea uuesti õigetpidi tagasi.
Jälle ühe kogemuse võrra rikkam.
*
So after finishing a cardy, I went back to rip back these P rows and sew them again.  
We learn til we live, don't we? 

DROPSyarn knitted jacket (7)

DROPSyarn knitted jacket (6)

DROPSyarn knitted jacket (5)


DROPSi mustrid ja lõngad leiab nende kodulehelt http://www.garnstudio.com/
*

More patterns and yarns under the link.
Enjoy! 


Monday, 14 October 2013

Pumpkin hat for Halloween - new DROPS Loves You 4 yarn

Pumpkin hat for Halloween - new DROPS Loves You 4 yarn

Since orange is not my fave colour I ordered just one skein of this DROPS ♥ You #4 yarn, just to see what a fuss the knitters make about it.


But this is really lovely brownish orange colour (not so bright in real life as on pic).
I wanted to knit a wig (Yes you read right!), but with one skein I got just toddler size hat.

So I call it pumpkin hat for Halloween! ;)
I love it!!!!
For adult size hat you need 2 skeins.
**********************************
HAT
I knitted top down in rib back and forth.
(Sometimes I just don't like messing around with all these needles...)
Cast on 9 sts if you wanna knit back and forth and leave 1 st as edge stitch both side (7 sts if you knit in rounds).
Inc in every sts next row, but not in 2 edge sts.
Next RS row (or every second round) inc in every K sts, and then next RS row inc in every P sts.
Now you have K2/P2 rib.
Usually are increases done in 6 or 8 times in round, I did 7 .
Then I increased middle of K sts like this:


Stop increases when you have reached circumference of your head. Remember, rib is very stretchy. ;)
Knit as long as you need (or as much yarn you have! ;) )
Knitted Pumpkin hat, made of DROPS Loves You 4 yarn, model: Winnie the Pooh
If you haven't decided, to buy this DROPS ♥ You #4 yarn yarn or not, don't waste your time and grab it before it's gone- it is LIMITED EDITION yarn you know!

Here is a list of all countries selling Garnstudio DROPS yarnshttp://www.garnstudio.com/countries.php?lang=en
It has silky feel and not itchy even for most sensitive skin.
Happy knitting!
**************************************
Kui tahad eesti keeles teada rohem selle lõnga kohta, tule piilu DROPSi foorumist:
http://www.mustrimaailm.net/



Thursday, 8 November 2012

Mrs. Micawber Ribbonberry Crochet Tutorial

I just have to share it.
I could have made same gorgeous wrist warmers and said I came up with it myself, like some people do, but it's just not me.
I better share original idea.

Mrs. Micawber  has in her blog very long and great tutorial for this crochet stitch.
 http://mrsmicawber.blogspot.com/2012/10/ribbonberry-crochet-tutorial-versatile.html
Ribbonberry stitch by Mrs. Micawber 
********
Võrratu heegelpind, mis näeb välja nagu kootud!
Head heegeldamist!


Monday, 9 April 2012

Crochet Easter Bunny / Heegeldatud kevadejänku

Kuna kudumine ei edene viimasel ajal, siis võtsin vahelduseks ette kiire heegeldamiseprojekti.
Juhendi leiad: DROPS Design 0-766, lõngaks oli mul jäme akrüül, heegelnõel 8 mm.
Muudatused: mõnus kohev korralik tõeline jänesesaba. Nagu peab olema. ;)
Ja muidugi kelmikas keerusall (mille õpetus on ka Dropsi videode lehel), nagu preilidele meeldib.

******
Since my knitting projects doesn't progress anywhere, decided do to little bit crocheting for a change.

I would like to introduce my new friend Bunny Rabbit-girl  Jutaliine.
She is very elegant and soft and has really lovely personality.


Pattern DROPS Design 0-766, but I used much chunkier yarn (similar to Drops Eskimo) and crochet hook 8 mm (6 mm for ears and scarf).
Tutorial for scarf is also from Garnstudio Crochet cork screw / spiral.
Also rabbit tail must be big and fluffy! ;)
A few posing pics as well...


Friday, 24 December 2010

How to insert zipper into knitted garment/ Kuidas kinnitada lukku kampsunile.

Eunny Jang shows you Techknitter's technique for making zippers knitable objects so you can knit them into your garments instead of sewing them in by hand.

From TECHknitter's blog.


Kuidas teha lukk selliseks, et seda oleks võimalik kohe külge kududa.

Teine video õpetab kuidas õmmelda lukku ripskoes kampsunile (kudumile).

Ilusaid jõule kõigile!

Wednesday, 28 October 2009

How to Add a Signature to Your Posts.

In english you can read about it in http://momswhoblog.blogspot.com/
Eesti keeles panen texti ylesse Ideraatorisse.

I wanted to have signature long time ago but..... lazyness is my bad twinsister.
Anyway do it and enjoy it!


Saturday, 11 April 2009

Blog makeover.

Hi!
Today's post is about how to change backround in your blog!
If you love backround what stays where you put it, follow next:

You could use ready made backround from
 aquapoppydesigns.blogspot.com
http://pueblogisi.blogspot.com/

http://eleques2.blogspot.com/
http://www.thecutestblogontheblock.com/
http://itkupilli-cutencool.blogspot.com/
http://www.ashscraps4u.blogspot.com/
.
Set your blog template to "Minima".
Choose one bacround you like ,copy code below picture and "Add a Gadget", HTML/JavaScript ,copy code and enjoy your new look.

OR

Get great picture what is big as your screen (you have to find it out yourself ;))
If you have template with colored middle part ,you will see only sides of your great picture. If you want to see all ,change template to "Minima" and go to Layout ,Edit HTML . Scroll a pit down and where are

body { background:$bgcolor;
margin:0;
color:$textcolor;
font:x-small Georgia Serif; font-size/* */:/**/small; font-size: /**/small; text-align: center;

Change " background:$bgcolor; " to :
background-image:url("
YOUR IMAGE ADDRESS"); background-position: center; background-repeat: no-repeat; background-attachment: fixed;

Change image address to yours and save and look .
Keep in mind , you want to read the text so your pic should have one color middle part and change also fonts and colors so you can read it.

And get new pic as often as you need! ;D

Few places to get great pic
http://www.bestqualitywallpapers.com/
http://pc-wallpapers.co.uk/space.htm
http://wallpapers.net/

EESTI KEELES saab samal teemal lugeda ideraator.blogspot.com

Tuesday, 3 March 2009

Present for my best friend.

One night I was surfing in the www and saw beautiful quilted cushion.
It was not ordinary. It was made of small pictures.
.................
Do you feel it already? How your brain is starting to move?
Think,think,think...

How it's made?
The photos are printed to fabric.
But how ?

So I found out about printable cotton sheets.
Well, had to buy mine from Australia...
But the result is worth every penny!

My next problem was how to cut pictures into small pieces?
It's easypeasy to make squares ,but if you know how to cut triangles, let me know! Please! :)
I mean with Picture editing program , not by hand. ;)


There came Picasa to help me to make photo collage .
Then just little pit printing and sewing and
Voila!

Now I have to make two more for my granny and mum...It makes memorable present! ;)

Sunday, 20 July 2008

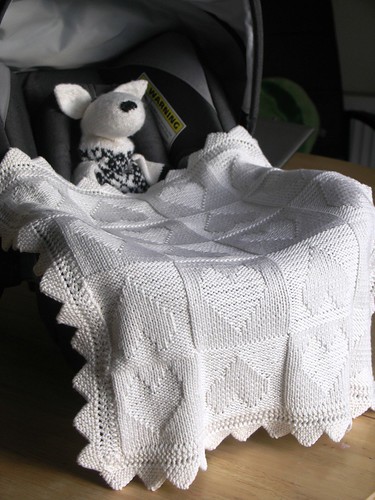
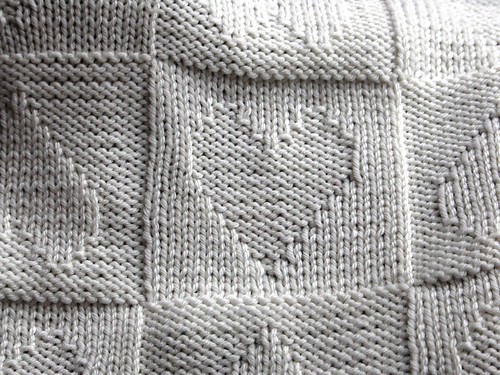
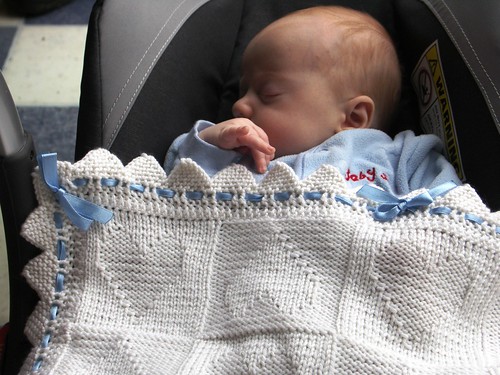
Little hearty baby blanket - FREE KNITTING PATTERN

My first "bigger" project this year!
After long searching on the Internet I came up with my own design for baby blanket!

The plan was to make 5 by 7 squares (50cm X 70 cm) to use it as a throw over in buggy but somehow I managed to make it 4 by 5 squares. The pregnant brain makes tricks.
Well, maybe one day I have to rip edging from one side (top or bottom) and add a few square rows.

It looks "right side" from both sides, includes only knit and purl stitches, very simple.
Yarn used: Debbie Bliss cashmerino dk, a bit more than 3 balls for this tiny blanky. 
(As an alternative DROPS yarn group B yarns can be used: DROPS Merino Extra Fine, DROPS Cotton Merino … Choose your favourite yarns here: )
Needles 3 mm (I knit loosely). 

A FREE PATTERN is available (please give me credit and link back to this post):
The pattern in English.

Make sure, you knit your own sample square and measure it. You might have to change the pattern if your stitches are taller.

Close-up detail and The Man himself:


Thursday, 17 July 2008

Dyeing your own yarn!


Handcraft people have crazy ideas!

If your children have some dried out felt tip pens (markers) there is great way to recycle them before throwing them out!

Would you like to have yarn like this?

It's easy!

Break the markers open and put the color filled piece into the jar big enough for yarn as well.
Soak them in the water till all color came out!
Look the pictures in kriuks2 blog.
Insert yarn (natural not acrylics).
Put the jars into big casserole pot filled with water.
Simmer about 1hr. Add vinegar (1tablespoon per jar)simmer 1/2h more.
Let it cool down. Rinse.

I have not tried it myself but others have done great job with it!

It's a similar to dyeing with Kool-Aid .

Tuesday, 20 November 2007

Getting paid.

Many times have seen people selling things (patterns ,yarns) in their blogs and always thought how smart they are using all these scary HTML codes and getting paid. Today I finally made it and now have button on the right --------->
so you can support my serious knitting and yarn addiction.
Even the smallest amount makes me happy, at least to see how this button works! ;)
The job field isn't great in this area where I live so there is no income at moment.

If you have PayPal account yourself and would like to sell something in your blog just go to your PayPal account, go to "Merchant Tools", choose "Buy now buttons" or "Donations" and follow the text.
follow the links You can even add "Shopping Cart" if you have more than one thing on sale!
And the good news there is possible to pay without having PayPal account . Just click "Continue" on bottom of the page and fill form to pay with your credit card!
Pay with credit card.


Easy-peasy!!!
And if you wanna look really smart you can make your own buttons (these are just small pics)!

Go ahead, you can make it!

If you liked my tutorial and little advise why not starting here and click this button and try out how it works!

PayPal is available now also in Estonia: paypal-eesti

Wednesday, 12 September 2007

Changes to Silver Belle.

I read Estonian craft forum today where women discussing over back cables of the Silver belle.
'Kiusupunn' said she will leave out the back cables in next cardy because they don't hold well.


So I did a little trial :


Couldn't keep myself ;) and made a little tutorial as well : Three needle bind off.


But I didn't like the look of the seam either so riped it open again and will go for back cables.


And one other thing as well:

first time I saw the picture of Silver Belle the edges of sleeves looked so unfinished .
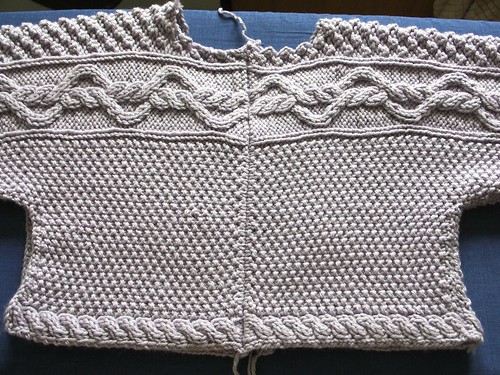
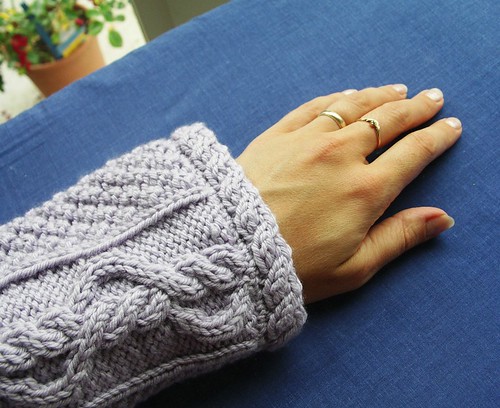
Already then had idea to add cable.
Here it is :
I casted on 7 stitches (1extra for sewing),knitted long cable and sewed it to sleeve.

EDIT: Great tutorial from olgajazzzy how to connect cable to sleeve's live stitches.

Thursday, 6 September 2007

How to knit cable without a cableneedle.

I have many times searched for some tutorial from Internet and know how great is to find what you looking for.
So decided to share what I know...
How to knit cable without a cable needle(4-st RC):

If you want to make a cable that twists to the right:

1.Insert right needle from the front through 3rd and 4th stitch on left needle, slip the left needle out releasing 4 cable stitches.

2.Fast pick-up two loose stitches with left needle on the back.

3.Slip the two stitches from right needle back to the left needle by crossing stitches .

4.Knit as directed.
How to do knitted cast on .

When you get to the point to cast on for front and back, using same yarn as you used for sleeve just do knitted cast on as follows:
*Knit 1, leaving stitch on left needle. Transfer new stitch onto left needle by slipping it knit-wise. Repeat from *
Knitted cast-on leaves the side seems very stretchy and you don't have to bother casting-on separately and then connecting them to the main piece and hiding ends...;)
Maybe somebody finds my picture tutorial helpful!

Happy knitting!!!

LinkWithin

Related Posts with Thumbnails